Can You Polish Concrete Yourself?
Posted On July 18, 2025
What Is Concrete Polishing, Anyway?
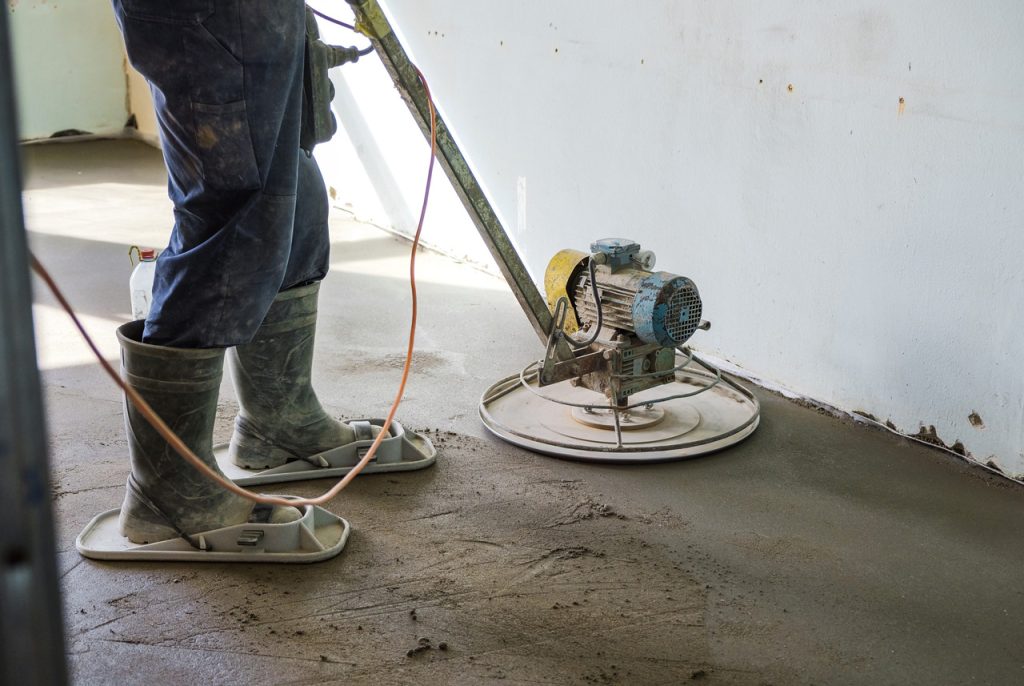
Let’s get one thing straight—concrete polishing isn’t just cleaning your floor and giving it a little shine. It’s a multi-step mechanical process that uses heavy-duty grinding equipment to refine and smooth the surface of your concrete slab. Think of it like sanding wood, but with industrial-grade tools, and instead of sawdust, you get fine, gritty concrete powder.
Polished concrete goes beyond appearances. It’s not a topical wax or sealant slapped on the surface. It’s the actual concrete being smoothed and hardened to create that glossy, high-end finish you see in car showrooms, retail stores, or trendy loft apartments.
By the time you’re done, you’ve got a dense, durable, low-maintenance floor that can withstand years of abuse—plus, it just looks really cool.
Why People Love Polished Concrete Floors in Fonmeadow Patio Homes
Polished concrete has become a top choice for modern homes and commercial spaces, and it’s not hard to see why.
- Aesthetic appeal: Polished concrete has a minimalist, clean, and modern look that fits with nearly every decor style—from industrial to contemporary.
- Eco-friendly: You’re working with the existing slab—no need for extra flooring materials like carpet, tile, or vinyl.
- Budget-smart: If your concrete’s already in place, you’re just enhancing it, not replacing it.
- Long-lasting: Properly polished and sealed concrete can last for decades with very little upkeep.
- Allergy-friendly: No fibers, dust mites, or VOCs. It’s one of the healthiest flooring options around.
For many homeowners, it’s a no-brainer. But here’s the million-dollar question: can you polish concrete yourself?
Can You Actually DIY Concrete Polishing?
You can—but let’s be realistic here. Polishing concrete isn’t as simple as renting a buffer and going to town. It requires patience, a decent understanding of how grits and densifiers work, and access to the right tools.
The Honest Truth: Yes… But With a Catch
Yes, DIY concrete polishing is possible. Many homeowners have tackled their garages, basements, or small patios with decent results. But here’s the catch: one mistake can ruin your slab. You could end up with gouges, uneven finishes, or a dull surface that refuses to shine no matter how many times you go over it.
If you’re aiming for a polished concrete floor that rivals what the pros deliver—like One Awesome Concrete, for example—you need to treat this like a real construction project, not a weekend hobby.
Pros of DIY Concrete Polishing
- Cost savings: Labor is the most expensive part of professional polishing.
- Pride of ownership: There’s something satisfying about looking at your floor and saying, “I did that.”
- Control: You decide on the level of gloss, the type of sealer, and the timeline.
Cons of DIY Concrete Polishing
- Expensive equipment rental: Grinders, polishers, and vacuums can rack up hundreds of dollars in rental fees.
- Heavy lifting: The machines aren’t light. Be prepared for some back-breaking work.
- Dust everywhere: If you don’t have a vacuum system attached, you’ll be cleaning for weeks.
- Skill required: Grinding too much or skipping a step can permanently damage the floor.
- No do-overs: Once you grind down too far… that’s it. No “undo” button.
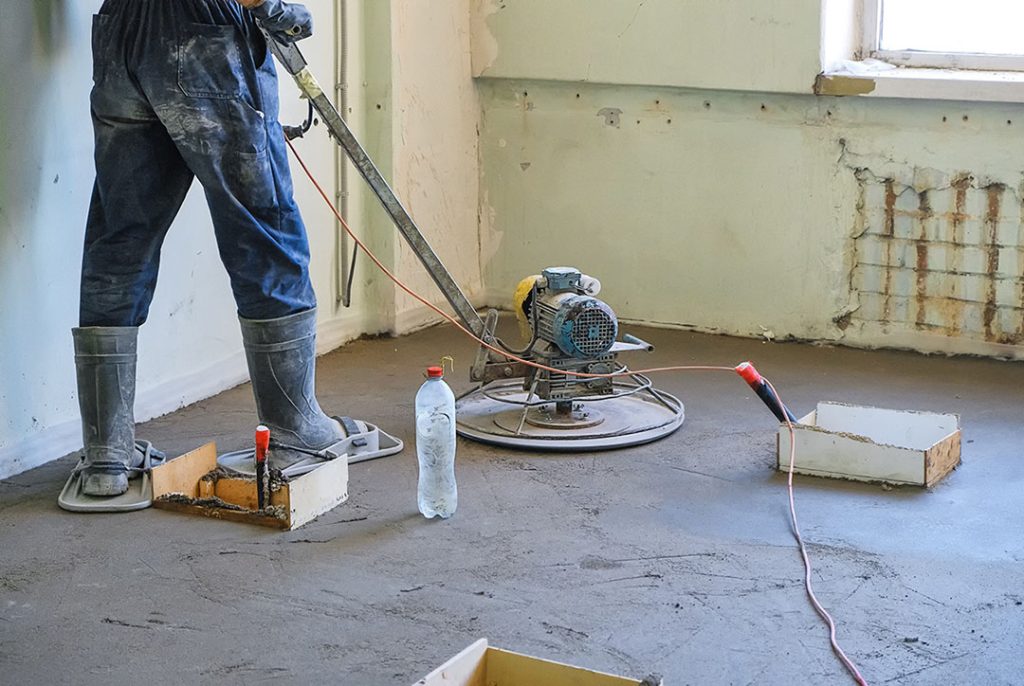
What You’ll Need to Polish Concrete Yourself
Before you head off to the hardware store, here’s a shopping (and rental) list of what you’ll need.
Tools and Equipment
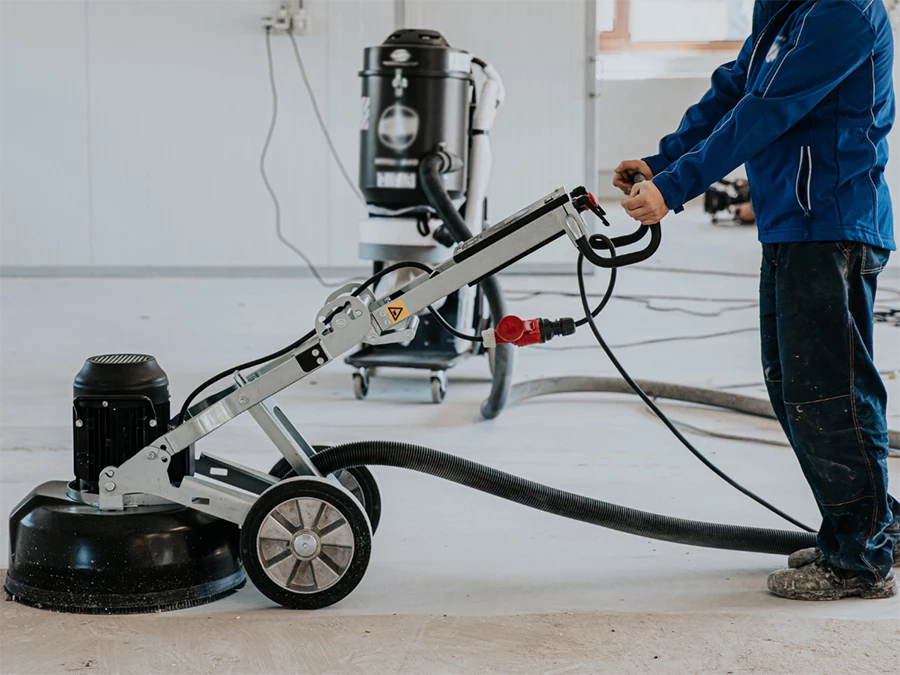
- Concrete grinder (planetary grinder preferred)
- Diamond grinding pads (start from 30-grit and work up to 3000-grit)
- Resin polishing pads
- Concrete densifier
- Concrete sealer
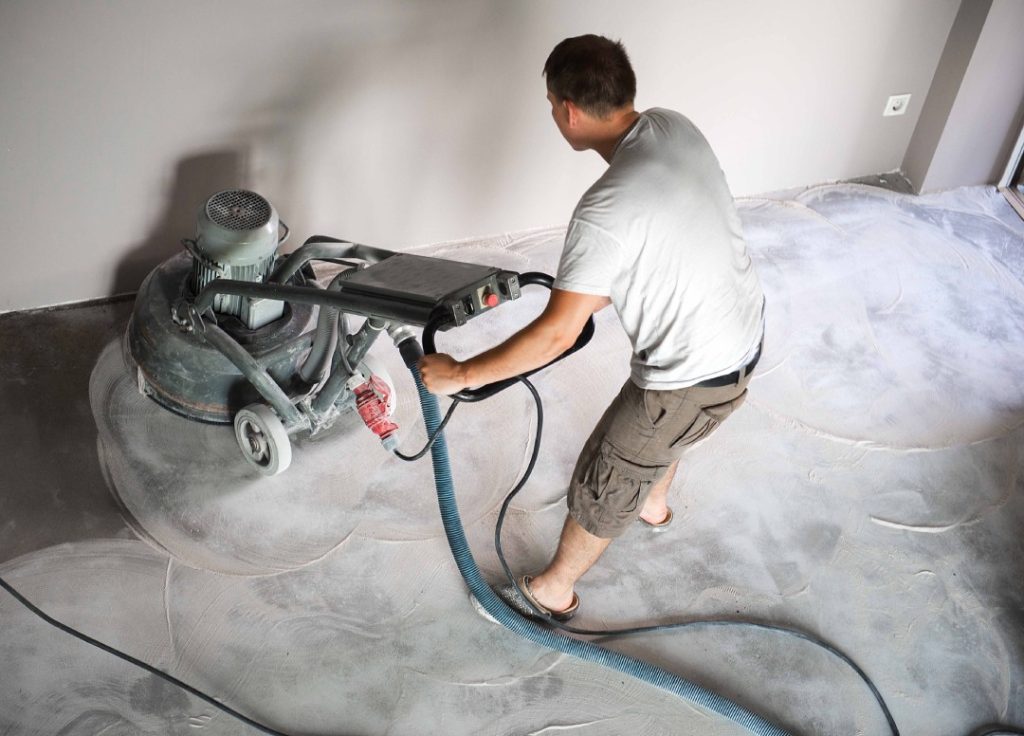
- Dust vacuum system or industrial shop vac
- Edge grinder (for corners and tight spots)
- Patch compound or epoxy filler (for cracks or chips)
You’ll probably have to rent the grinder and vac system. It’s not cheap—but it’s still less than hiring pros.
Personal Protective Equipment (PPE)
- Respirator (concrete dust can cause lung damage)
- Safety goggles
- Ear protection (those grinders are loud)
- Heavy-duty gloves
- Steel-toe boots
Safety isn’t optional. Concrete dust is fine and dangerous—it’s not something to mess with.
Step-by-Step: How to Polish Concrete Floors Yourself
Here’s how to take your concrete from dusty to dazzling in seven steps.
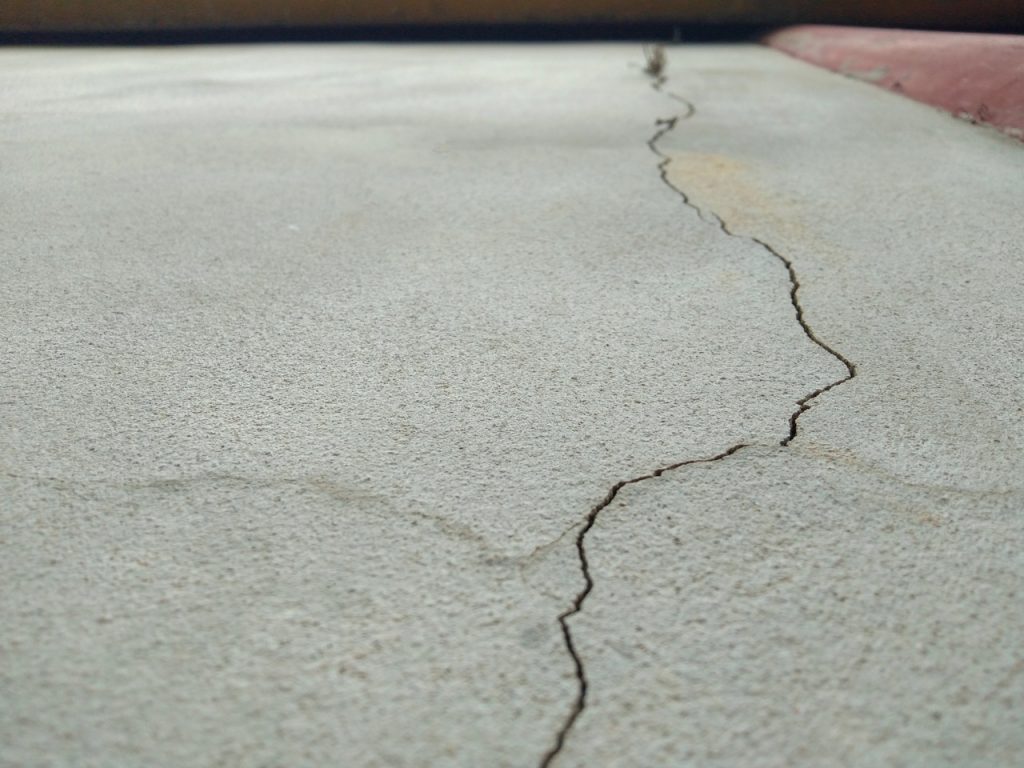
Step 1: Inspect the Concrete
Look for cracks, soft spots, or stains. Polishing won’t magically fix a poor-quality slab. If it’s spalling (flaking off), crumbling, or deeply stained, call One Awesome Concrete and get a professional opinion first.
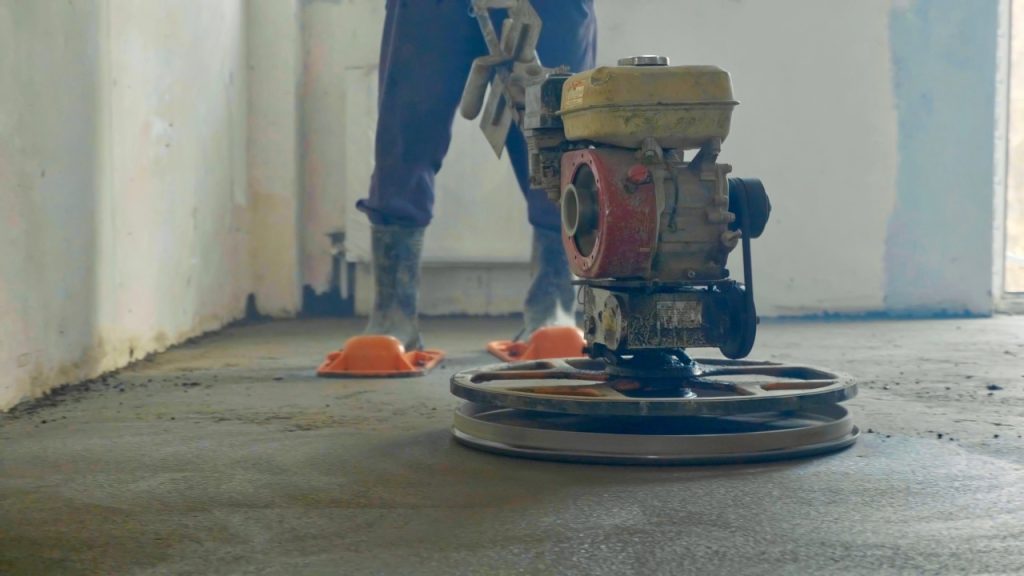
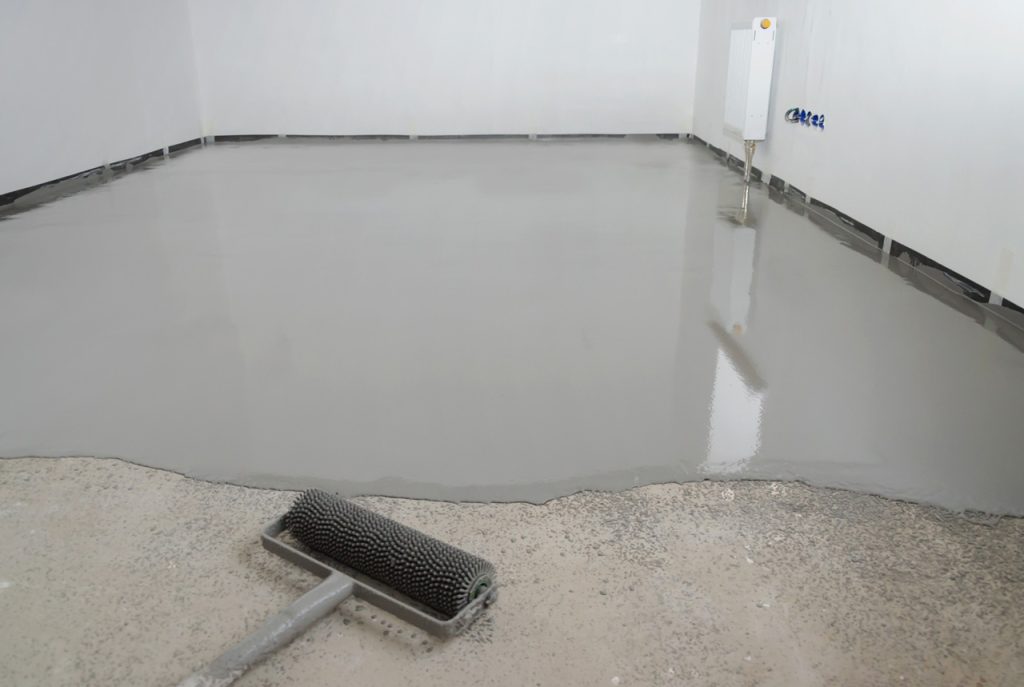
Step 2: Prep the Area
Remove all furniture, rugs, and debris. If the floor has any paint, glue, mastic, or old sealant, remove it with a scraper or chemical stripper. Clean thoroughly—start with a bare, dry, clean surface.
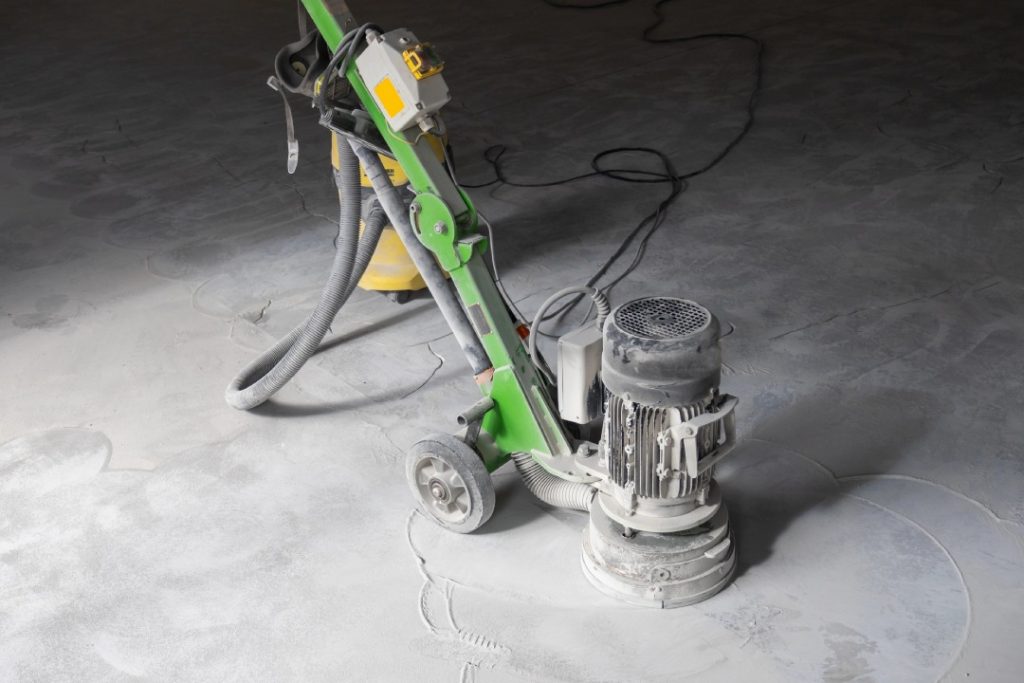
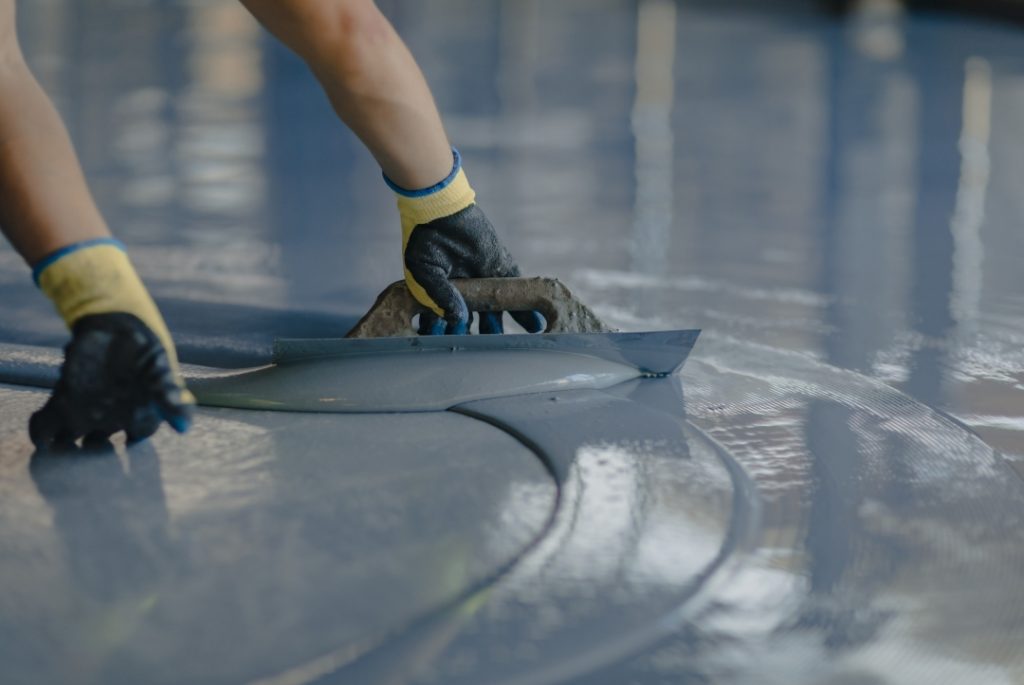
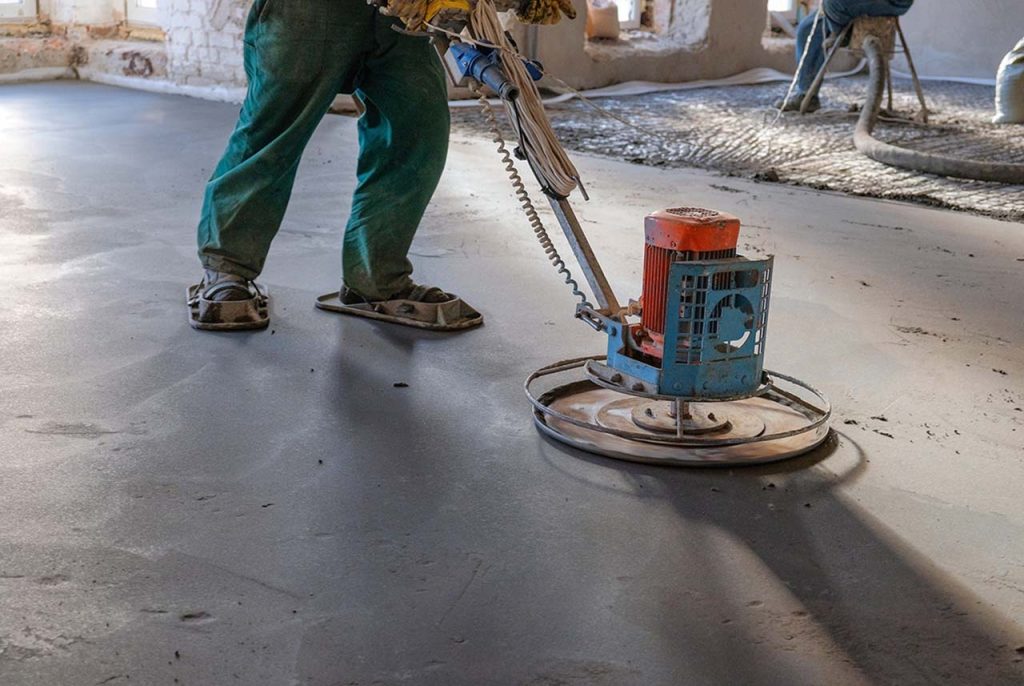
Step 3: Start Grinding (30- to 150-Grit Pads)
Attach the 30-grit metal-bond diamond pad to your grinder. This rough pass levels the surface and removes imperfections.
Then switch to:
- 80-grit pad (removes 30-grit scratches)
- 150-grit pad (starts refining the surface)
Vacuum between each pass to remove debris. Work slowly and steadily.
Step 4: Fill Cracks and Holes
Use an epoxy or polymer filler to patch cracks or pits. Let it dry completely before continuing. This step is crucial if you want a smooth, uniform finish.
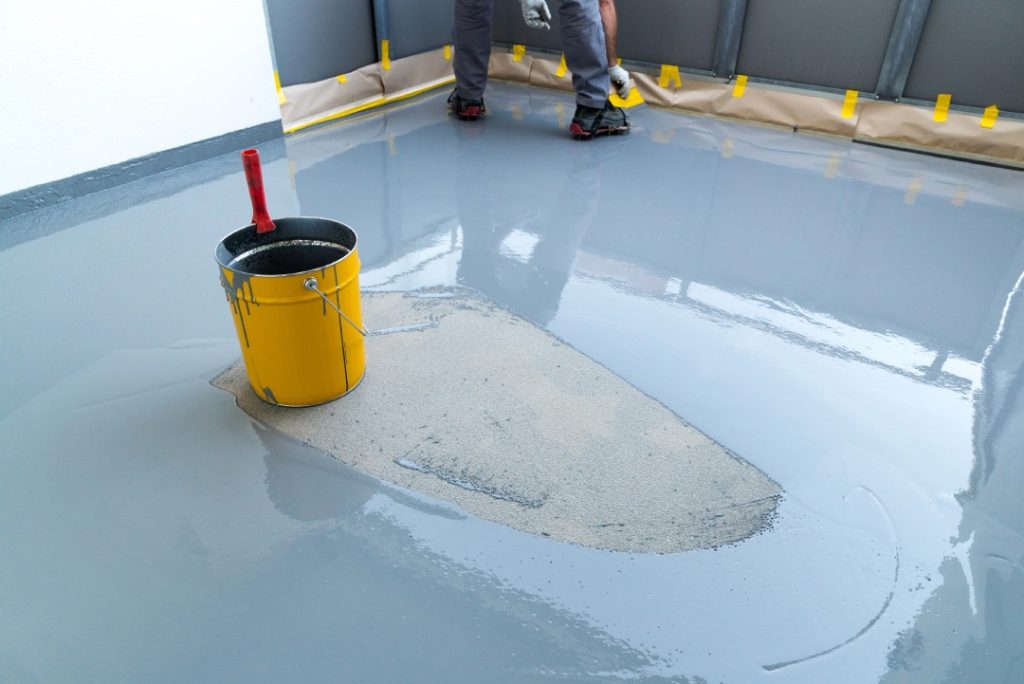
Step 5: Apply a Densifier
This liquid hardener sinks into the concrete and reacts chemically to make the surface denser. It fills pores and allows for a stronger polish. Apply it evenly after the 150-grit pass and let it dry thoroughly.
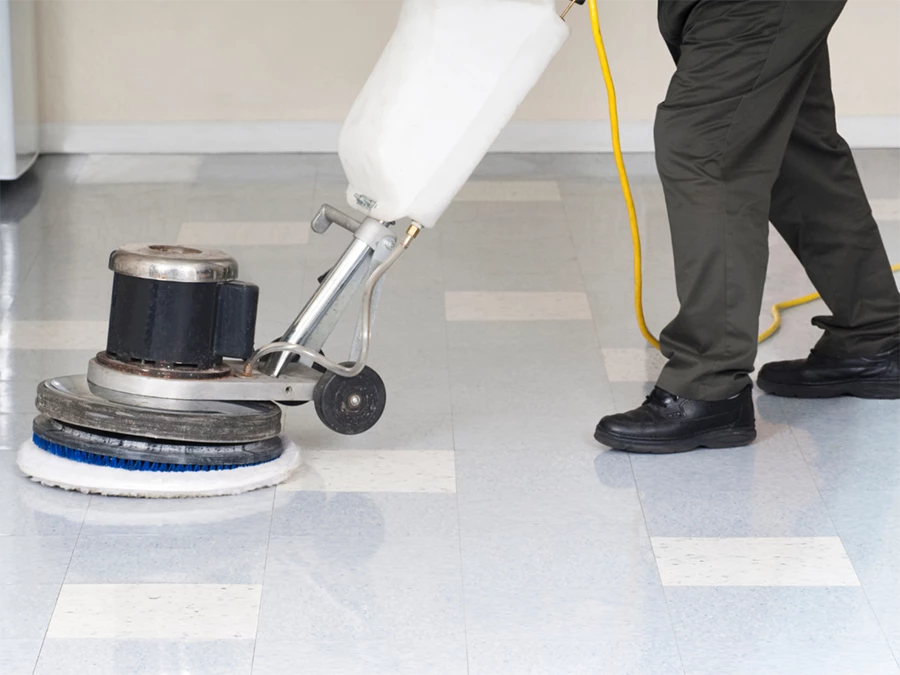
Step 6: Polish It (400- to 3000-Grit Pads)
Switch to resin-bond polishing pads:
- 400-grit – begins the polishing stage
- 800-grit – adds visible sheen
- 1500-grit – glassy reflection begins
- 3000-grit – high-gloss, mirror-like shine
The higher you go, the shinier the floor.
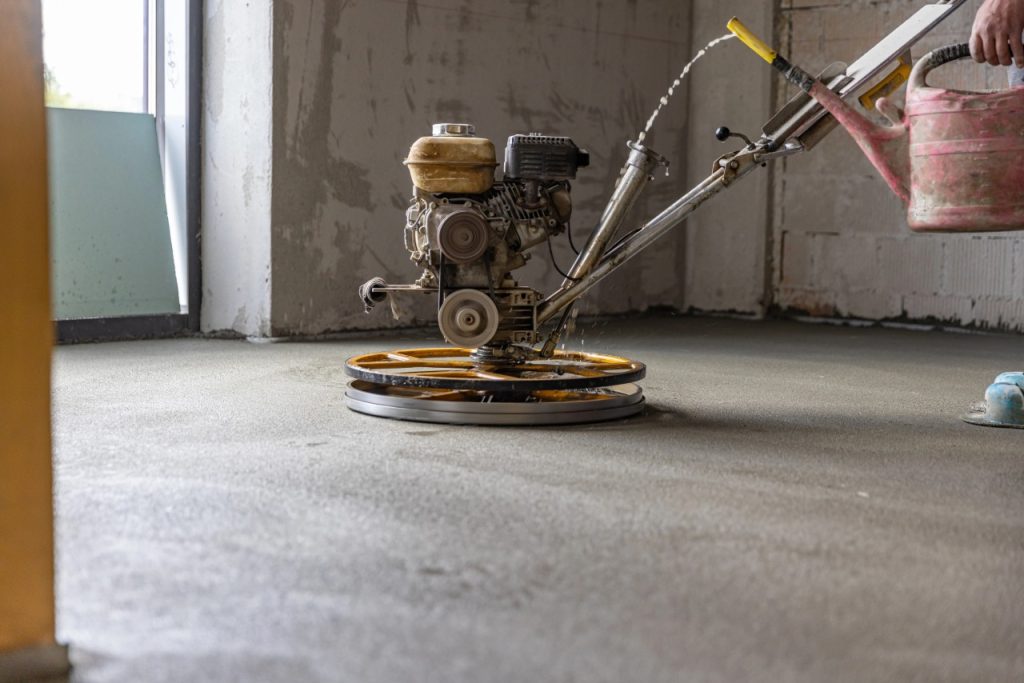
Step 7: Seal and Finish
Apply a penetrating concrete sealer or polish guard to lock in your hard work. Some sealers also enhance the color and shine, making your floor pop even more.
Let it cure fully—usually 24 hours—before moving furniture back in.
How Long Does DIY Polishing Take?
- Small space (like a 1-car garage): 2–3 full days
- Larger area (like a basement): 4–5 days
If you have to stop and pick up more supplies or let filler cure, add time. It’s not fast, but it’s doable.
Top Mistakes to Avoid
1. Skipping Grit Levels
Every grit serves a purpose. Jumping from 80 to 400 leaves behind scratches that you won’t see until the job’s done—and it’s too late.
2. Not Cleaning Between Passes
Dust left behind can clog pads and reduce effectiveness. Always vacuum thoroughly.
3. Applying Densifier Too Late
If your concrete is soft, applying densifier too late means the surface could wear unevenly. Don’t wait too long after the 150-grit grind.
When to Call One Awesome Concrete Instead
If your floor is uneven, cracked, or stained—or if you’re doing a large or high-traffic area—call the pros. One Awesome Concrete uses industrial grinders, professional densifiers, and trained crews to get the job done perfectly and fast.
And the results? You’ll see a clear difference. No swirl marks, no uneven gloss. Just a stunning, hard-as-nails floor that’s ready for anything.
DIY vs. Pro Polishing: Quick Comparison
| Feature | DIY | One Awesome Concrete |
| Cost | $$ | $$$ |
| Time | Days | 1–2 Days |
| Tools | Rented | Industrial |
| Skill Level | High | Expert |
| Quality | Varies | Guaranteed |
| Mess Cleanup | Yours | Included |
| Risk | High | None |
One Awesome Concrete Serving the Fonmeadow Patio Homes Community and Beyond in Houston
One Awesome Concrete is dedicated to serving the diverse needs of the local community of Houston, including individuals residing in neighborhoods like Fonmeadow Patio Homes. With its convenient location near landmarks such as the One Church @ Bethel’s Family and major intersections like Fondren Rd. & Sandpiper dr. (coordinates: 29.641319313635623, -95.50678676790629), we offer concrete polishing floors Houston services.
Get Concrete Polishing Floors at Fonmeadow Patio Homes Now
Contact Us
(832) 368-9257
Navigate from Fonmeadow Patio Homes to One Awesome Concrete Now
Is DIY Worth It, or Should You Leave It to the Experts?
Can you polish concrete yourself? Absolutely—if you’ve got the patience, the tools, and the energy to see it through.
But if you’re looking for guaranteed shine, no stress, and professional-grade results, it’s hard to beat the experience and precision of One Awesome Concrete. When in doubt, go pro. Your floor—and your back—will thank you.
FAQs
1. How much does it cost to polish concrete yourself?
DIY polishing typically costs between $500 and $1,500, depending on the size of the floor and the equipment rentals.
2. Can I polish old concrete?
Yes, but it depends on the condition. If it’s structurally sound, it can be polished. Crumbling or heavily damaged slabs might need resurfacing first.
3. What grit gives concrete its shine?
Shine starts appearing around 800-grit, but for a mirror-like finish, go up to 3000-grit.
4. Do I need to seal my polished concrete?
Yes. Sealing adds protection from stains and extends the life of the polish.
5. Can One Awesome Concrete fix a DIY polishing job gone wrong?
Yes! If your floor didn’t turn out as planned, One Awesome Concrete can restore it, smooth it, and polish it to perfection—no judgment, just results.


RELIABLE, TRUSTWORTHY, and AFFORDABLE PROFESSIONAL SERVICES
or Call us now at
(832) 368 – 9257
Recent Blogs
Can Refinished Cement Flooring Withstand Heavy Foot Traffic
When it comes to choosing flooring that lasts, one common question from property owners, business managers, and homeowners is whether refinished cement flooring can handle heavy foot traffic. With increasing popularity in both commercial and residential settings, cement floors are no longer seen as just utilitarian surfaces, they are stylish, durable, and highly customizable. But…How to Easily Repair Damaged Finished Concrete Flooring
Finished concrete flooring is known for its durability, clean appearance, and low maintenance. Whether you have polished concrete, stained concrete, sealed concrete, or epoxy-coated concrete floors, the surface can still experience damage over time. Cracks, chips, surface scratches, spalling, and discoloration are common issues in both residential and commercial spaces. This guide explains how to…How Contractors Ensure Smooth Polished Cement Finishes
Polished cement flooring is widely used in commercial buildings, retail stores, warehouses, healthcare facilities, restaurants, and modern residential properties. Property owners choose polished cement because it offers durability, low maintenance, high light reflectivity, and long service life. However, achieving a smooth polished cement finish requires more than running a grinder over a concrete slab. It…


EXPERT CONSULTATION, SWIFT QUOTATIONS
Ready to bring your concrete vision to life? Reach out to One Awesome Concrete Polishing & Staining today for expert consultations and fast, accurate quotations. Our team of professionals is dedicated to providing personalized guidance and precise estimates, ensuring that your project is executed to perfection. Whether you’re looking to enhance your home, renovate a commercial space, or overhaul an industrial facility, we have the experience and tools to handle projects of all sizes. Contact us today, and let’s work together to transform your space with the beauty and durability of cement polishing company Houston. Experience top-tier service and exceptional results with One Awesome Concrete Polishing & Staining.


