How to Polish Concrete Garage Floor
Posted On August 29, 2025
How to Polish Concrete Garage Floor
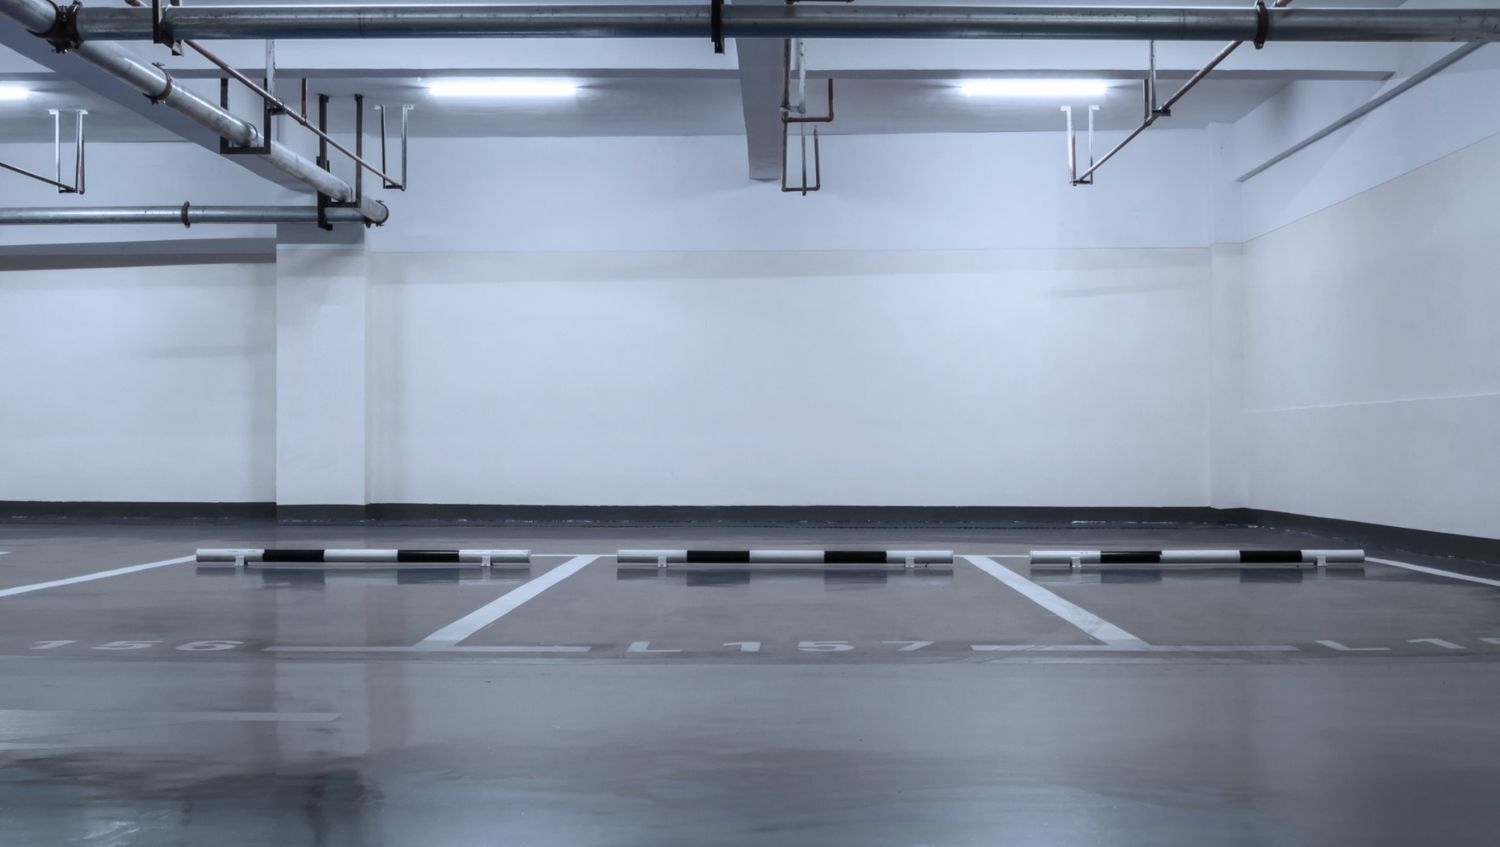
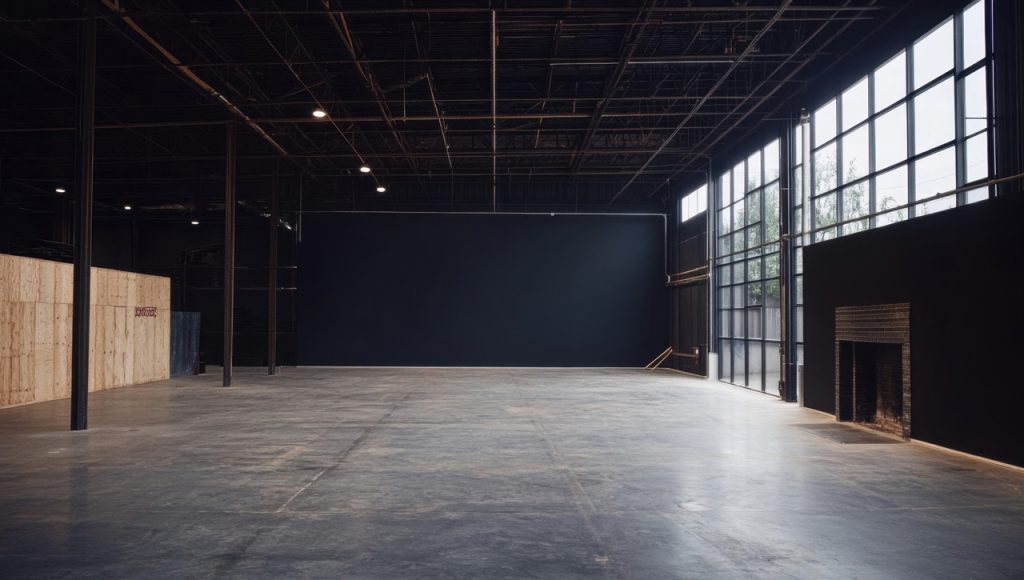
Polishing a concrete garage floor is more than just a cosmetic upgrade, it’s an investment in durability, cleanliness, and visual appeal. A polished concrete surface transforms your garage from a dusty, dull space into a sleek, reflective, and easy-to-maintain area.
Imagine walking into your garage and seeing a floor that gleams under the light, highlighting every tool, car, or workbench perfectly. Polishing concrete is a task that requires patience, the right tools, and proper techniques, but the results can be truly stunning. Let’s dive into how to achieve that professional finish.
Why Polishing Your Garage Floor Matters
Many homeowners overlook the garage, thinking of it as just a storage space or a place to park cars. But polishing your garage floor offers several benefits:
- Durability – Polished concrete resists stains, chips, and cracks better than untreated floors.
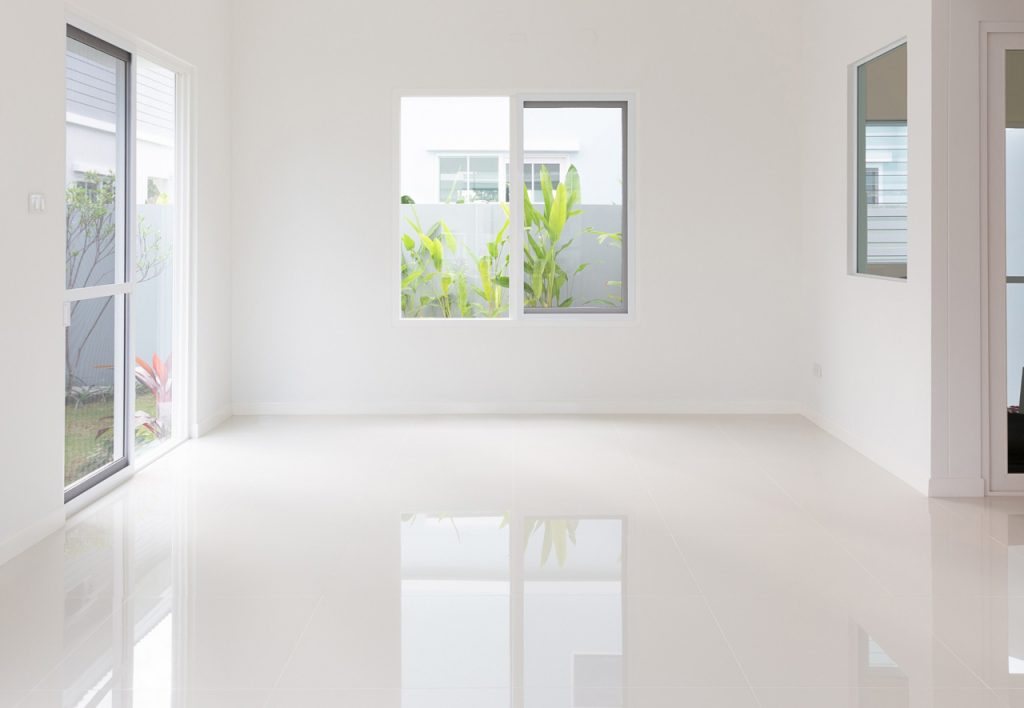
- Cleanliness – Dust and dirt settle less on smooth surfaces, making sweeping and mopping easier.
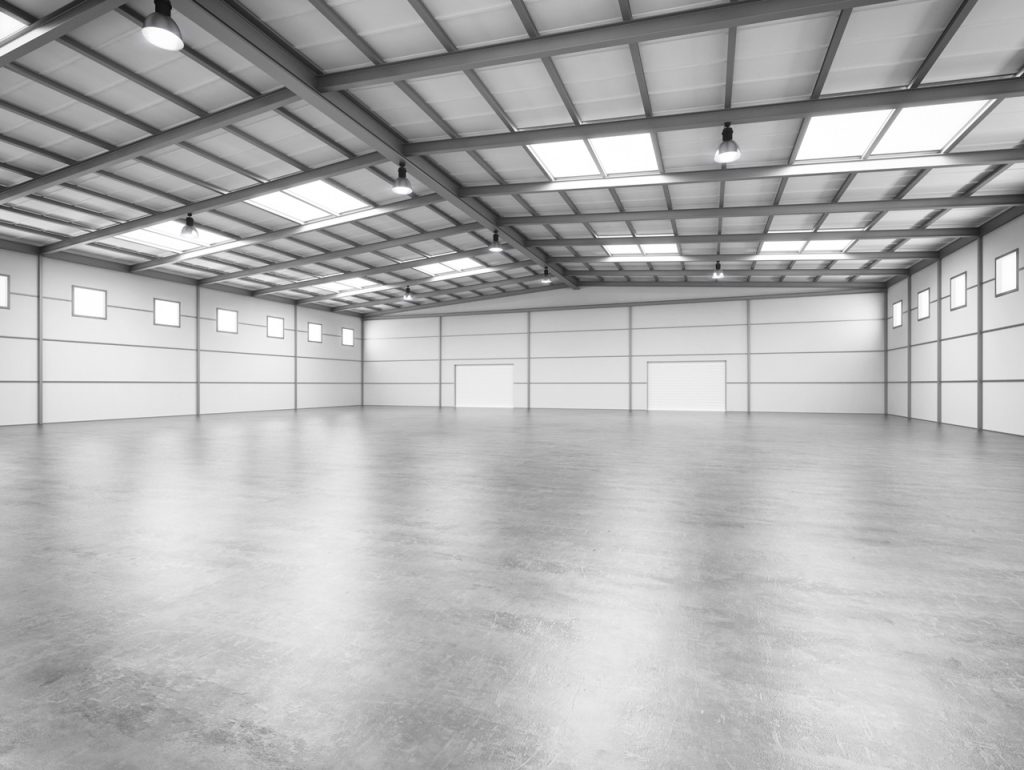
- Aesthetic Appeal – A polished floor gives your garage a showroom-like appearance, reflecting light and making the space feel bigger.
- Cost Efficiency – Polished floors require less maintenance and don’t need costly refinishing or replacement.
Polishing turns a functional space into one that looks and feels premium, boosting your home’s overall value.
Tools and Materials You’ll Need
Polishing concrete requires specific tools and materials to achieve a flawless finish. Here’s a breakdown:
Essential Equipment
- Concrete Grinder or Polisher – A heavy-duty machine that sands down imperfections.
- Diamond Polishing Pads – Various grit levels, ranging from coarse to ultra-fine, to smooth and shine the floor.
- Concrete Densifier – Hardens the surface, making it stronger and more reflective.
- Vacuum or Dust Extractor – Keeps dust under control and maintains a clean workspace.
- Concrete Sealer – Adds a protective layer and enhances the shine.
Protective Gear and Safety Measures
Concrete work creates dust and debris, which can be hazardous. Always wear:
- Safety goggles
- Gloves
- Dust mask or respirator
- Ear protection
- Knee pads for comfort
Good ventilation is crucial, especially in enclosed garages, to prevent dust buildup and inhalation of harmful particles.
Preparing Your Garage Floor for Polishing
Preparation is the key to a smooth and long-lasting finish. Taking time here pays off when it comes to the final shine.
Clearing and Cleaning the Space
Remove all vehicles, tools, and storage items. Sweep thoroughly or use a vacuum to remove fine dust and debris. Even tiny particles left behind can scratch the floor during grinding. Power wash the floor if necessary, and allow it to dry completely before starting.
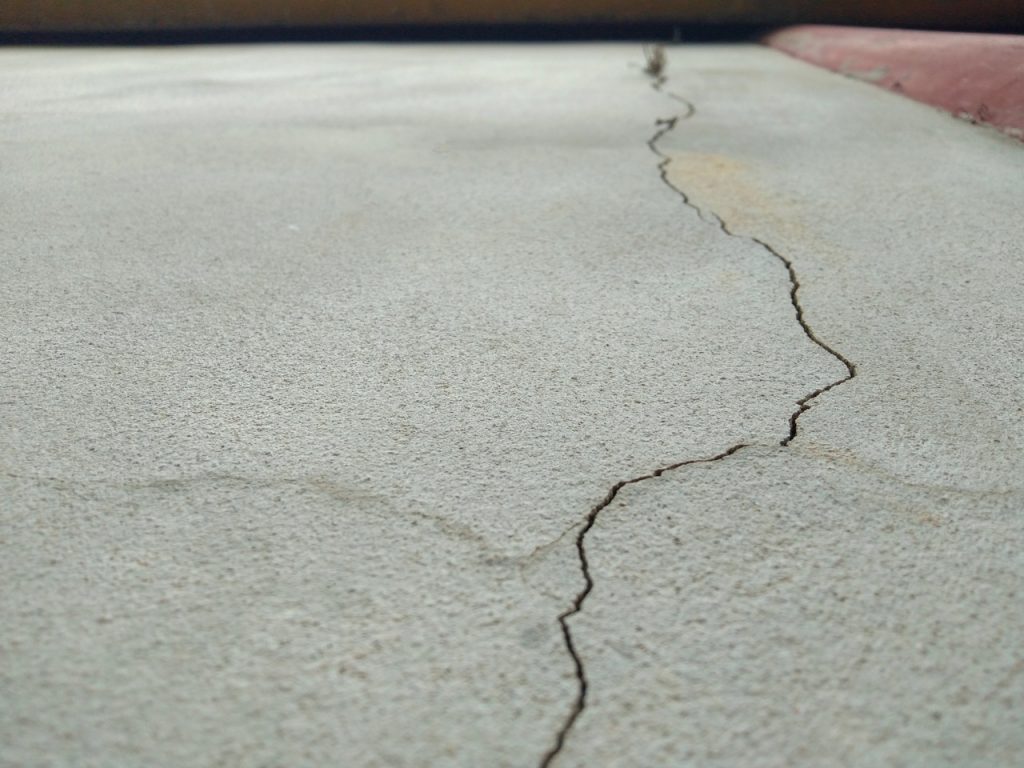
Repairing Cracks and Imperfections
Inspect the floor for cracks, holes, or spalling areas. Fill cracks with concrete patching compound, ensuring the surface is level. Uneven areas create problems during polishing and can compromise the final look. Smooth all repaired areas using a trowel, and let them cure fully before grinding.
Understanding Concrete Floor Grades and Types
Not all concrete behaves the same. Knowing your floor’s type helps you choose the right polishing approach.
Different Concrete Mixes
Concrete strength varies depending on its mix and age. Floors with high aggregate content can resist wear better, while older concrete may require extra preparation. Understanding your mix type ensures proper polishing and prevents damage to the surface.
Identifying Porosity and Density
Porous concrete absorbs densifiers and sealers differently than dense surfaces. Conduct a small test patch by applying water, if it absorbs quickly, the floor is highly porous and will require more densifier. Dense floors polish faster but may need additional grinding to reach the desired shine.
Step-by-Step Guide to Polishing Concrete Floors
Let’s break down the polishing process into manageable steps.
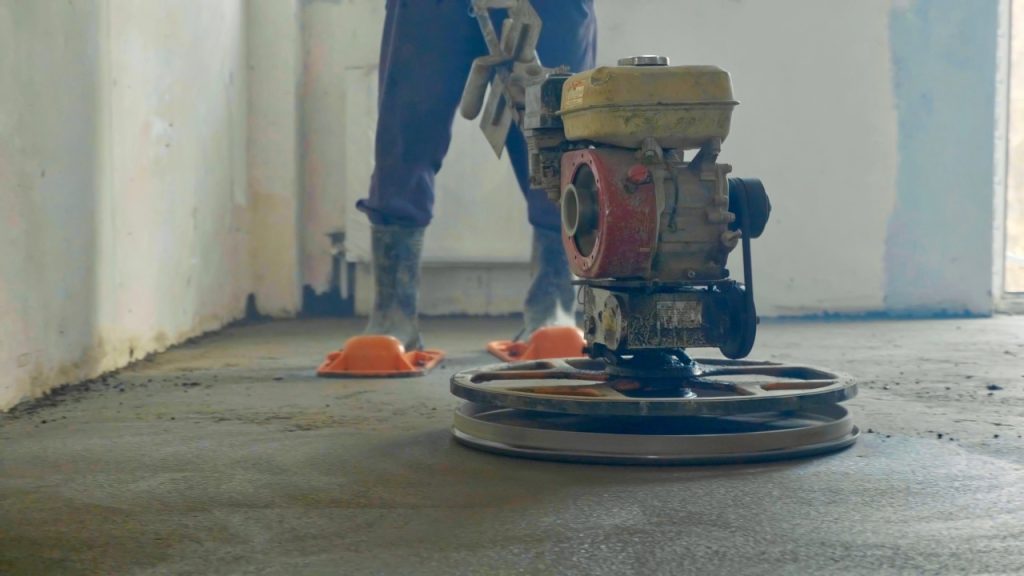
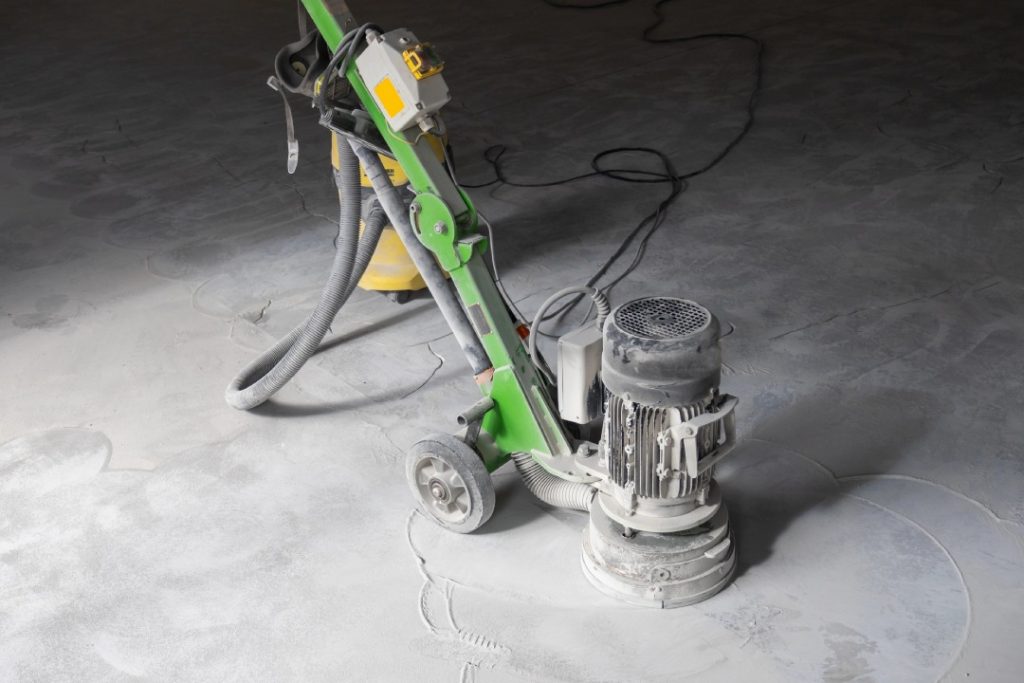
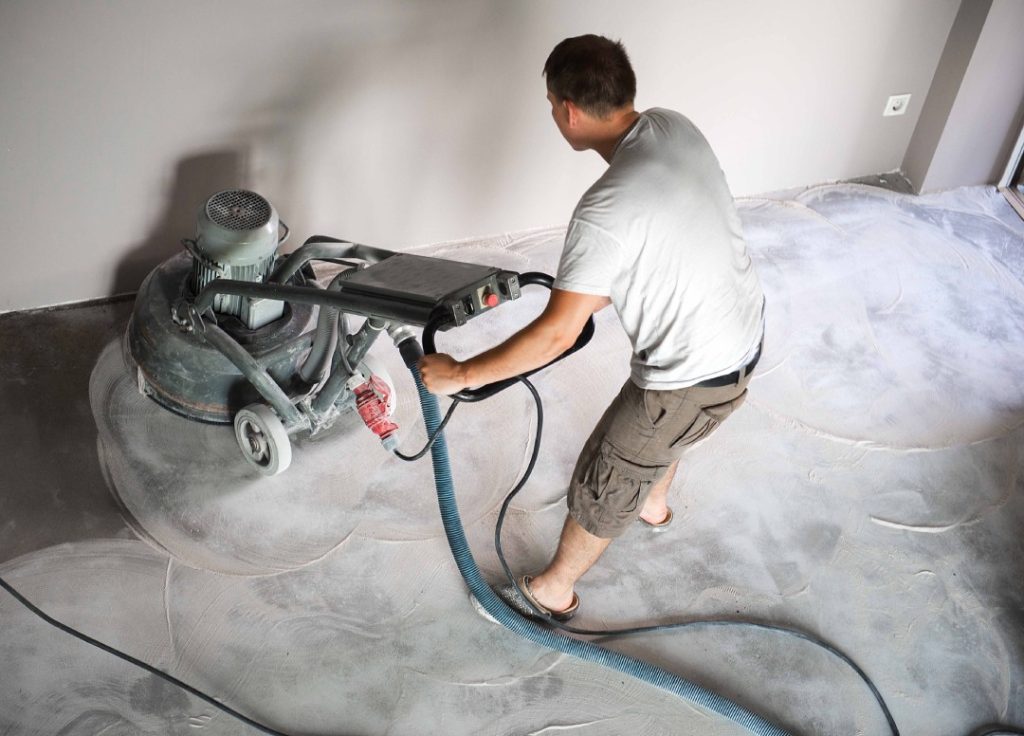
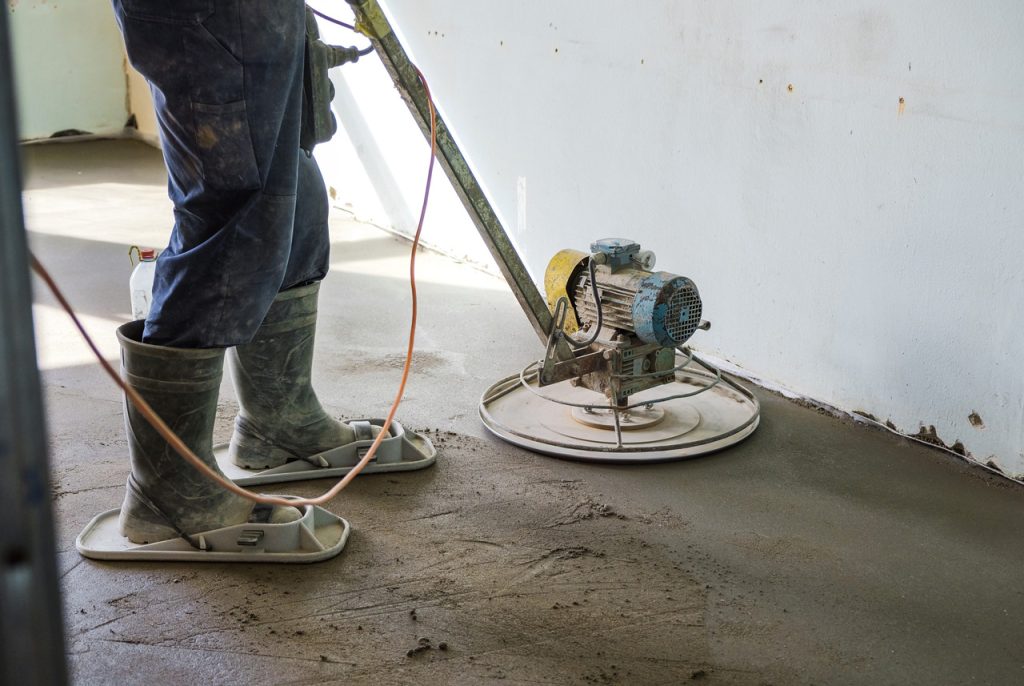
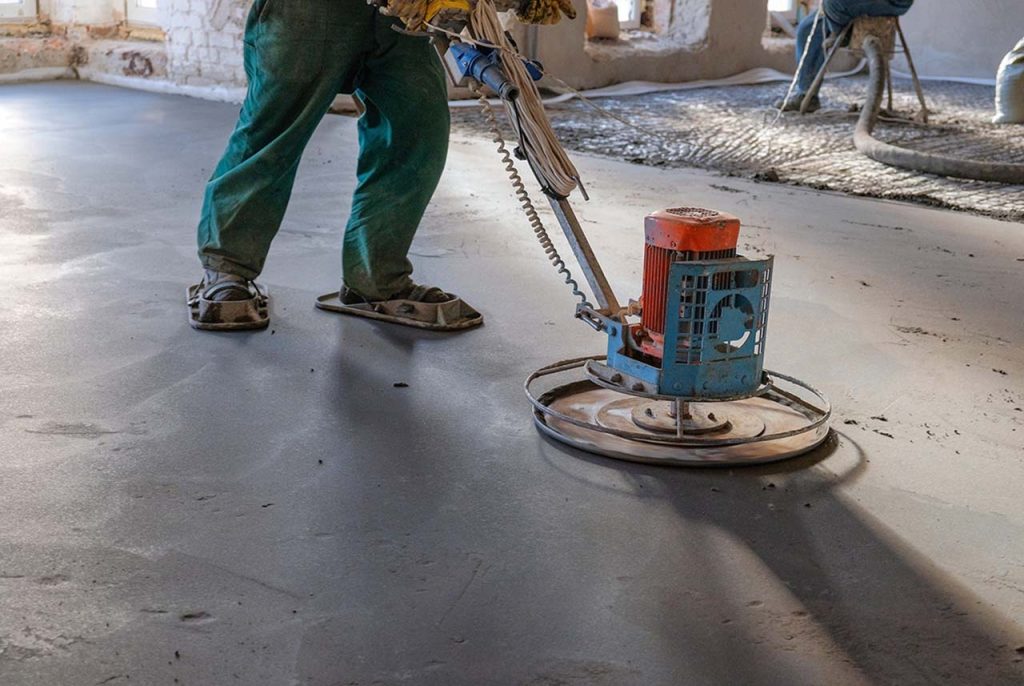
Grinding the Surface
Start with coarse-grit diamond pads (30 or 50 grit) to remove imperfections, old coatings, and surface stains. Move the grinder slowly and keep it in motion to avoid uneven spots. Make overlapping passes for consistent results. Multiple passes may be necessary for rough or uneven surfaces.
Choosing the Right Grit Sequence
Gradually progress through finer grits: 100, 200, 400, 800, and even 1500–3000 for a mirror-like finish. Skipping grits leaves scratches visible after polishing. Each pass smooths the previous grit’s marks, creating a reflective, flawless surface.
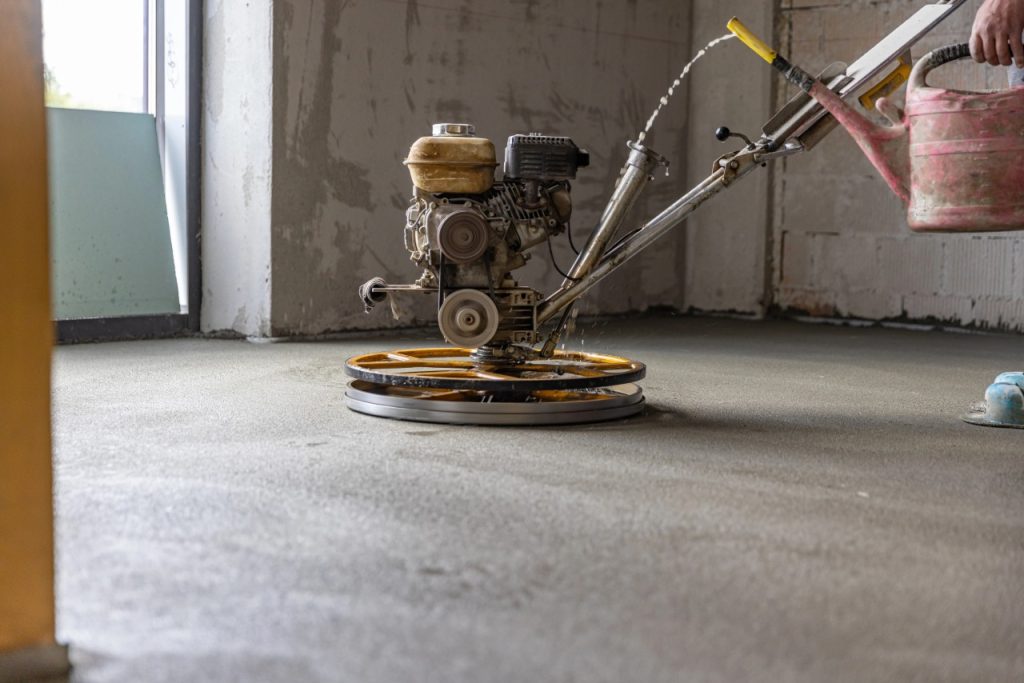
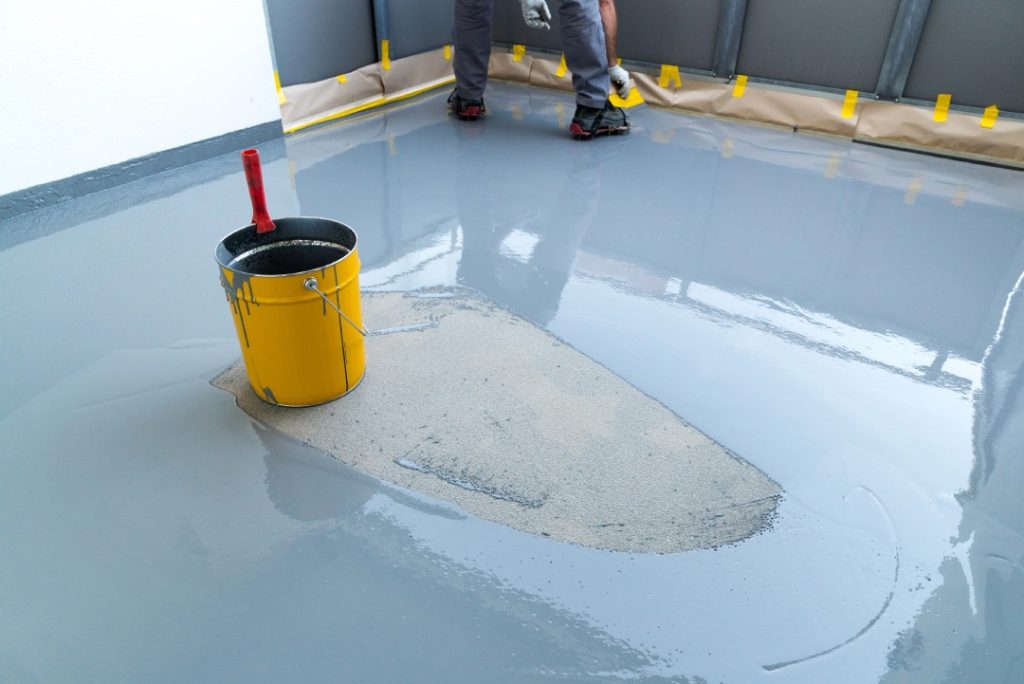
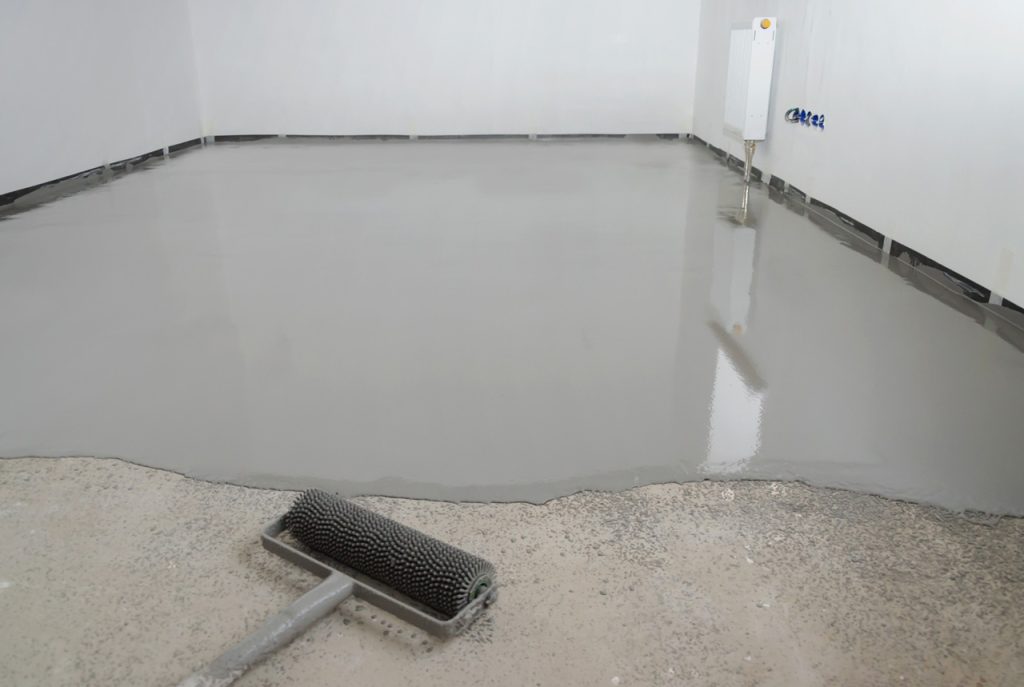
Applying Densifiers and Sealers
After grinding, apply a concrete densifier. This chemical penetrates the pores, hardens the surface, and increases durability. Once the densifier has dried (usually 24 hours), apply a concrete sealer. Sealers protect against stains, enhance shine, and make cleaning easier.
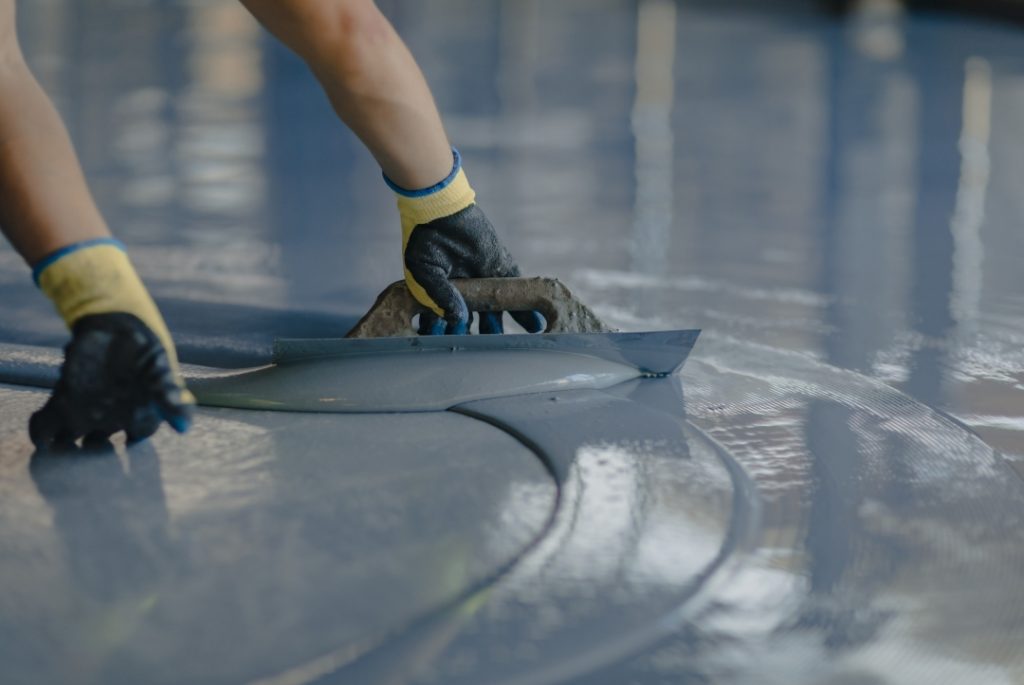
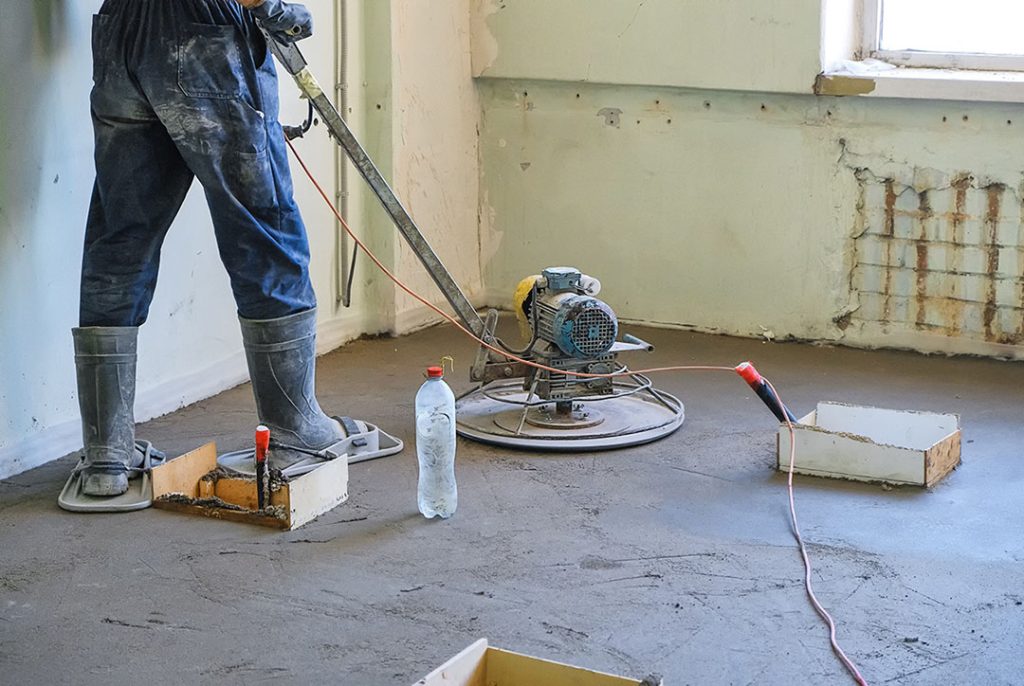
Polishing Techniques for a Mirror Finish
Use ultra-fine pads (800–3000 grit) with overlapping passes and consistent pressure. Avoid pressing too hard, as this can leave swirl marks. Think of it as sanding wood to a high gloss, gradual, steady, and precise movements achieve the best shine.
Common Mistakes to Avoid
Even small errors can affect the final result:
- Skipping grit sequences
- Ignoring repairs before polishing
- Neglecting safety gear
- Using the wrong densifier or sealer
- Rushing the process
Patience and attention to detail make a huge difference in the final outcome.
Maintaining Your Polished Garage Floor
Maintaining the shine is easier than you might think.
Daily Cleaning Tips
Sweep or vacuum regularly to remove dust. Wipe up spills immediately to prevent staining. Avoid harsh chemicals that can break down the sealer.
Long-Term Care Strategies
Reapply the sealer every 2–3 years depending on wear. Consider area rugs in high-traffic zones and avoid dragging heavy objects across the floor. Occasional light polishing can restore shine without full refinishing.

DIY vs. Professional Polishing Services
DIY polishing is possible with the right tools and patience. However, large garages, stubborn stains, or cracks often require professional experience.
When to Call One Awesome Concrete in Quail Glen
One Awesome Concrete specializes in garage floor polishing in Quail Glen. Their team handles everything, from preparing the floor to achieving a perfect mirror finish. Hiring experts saves time, avoids mistakes, and ensures a long-lasting, beautiful result.
Professional Garage Floor Polishing by One Awesome Concrete in Quail Glen
Polishing a concrete garage floor is a game-changer for both functionality and style. It transforms a dull, dusty surface into a durable, easy-to-clean, and visually stunning space.
By following the right steps, prepping the floor, grinding through proper grit sequences, applying densifiers and sealers, and maintaining the surface, you can achieve a professional finish that lasts for years. Whether you tackle it yourself or call in the experts at One Awesome Concrete in Quail Glen, the effort pays off with a garage that feels cleaner, brighter, and more inviting.
Investing in your floor not only enhances your daily life but also adds value to your home. With care, attention, and a bit of elbow grease, your garage can shine like never before.
Cost Considerations and Budgeting
Budgeting accurately avoids surprises during your project.
Material Costs
Diamond pads, densifiers, sealers, and protective gear can cost $150–$500, depending on your garage size and product quality.
Labor Costs
Professional services typically charge $3–$7 per square foot. Costs depend on floor condition, size, and complexity. Hiring professionals may seem expensive upfront but reduces the risk of costly mistakes and provides superior results.
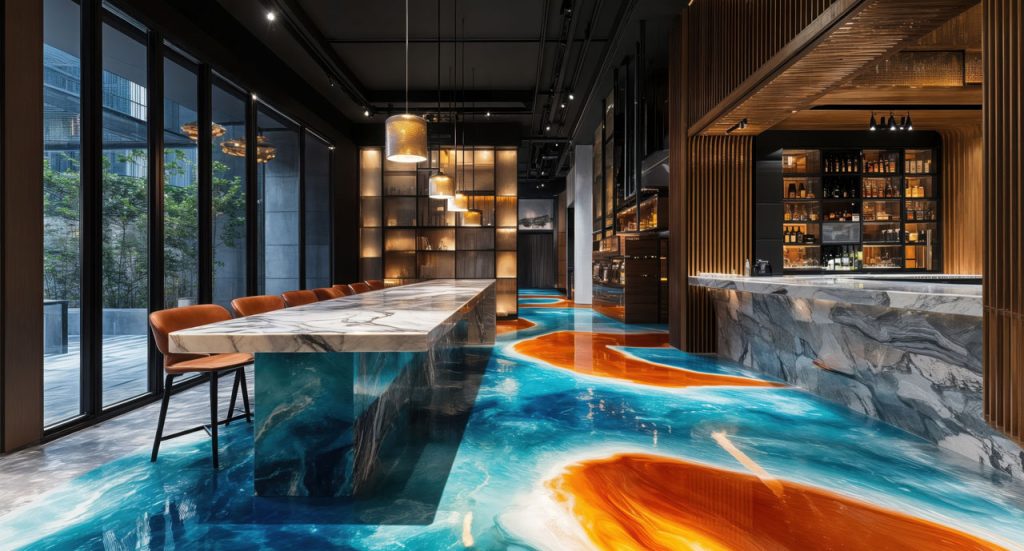
Enhancing Aesthetics with Stains and Patterns
Polished concrete allows customization. You can add:
- Decorative stains to create color variations
- Acid etching for texture and depth
- Embedded patterns or logos for unique personal touches
These options transform your garage into a visually stunning space that complements your home.
Eco-Friendly Polishing Practices
Sustainability matters. Use water-based sealers, low-dust grinders, and recycle concrete slurry to reduce environmental impact. Proper disposal and minimal chemical use keep the process green while maintaining quality.
Safety Precautions During Polishing
Safety is non-negotiable:
- Keep pets and children out of the area
- Ensure good ventilation
- Wear appropriate safety gear
- Inspect tools and cords before use
Following safety rules prevents accidents and protects your polished floor investment.
One Awesome Concrete Serving the Quail Glen Community and Beyond in Houston
One Awesome Concrete is dedicated to serving the diverse needs of the local community of Houston, including individuals residing in neighborhoods like Quail Glen. With its convenient location near landmarks such as the Roane Park and major intersections like Farm-To-Market Rd. 2234 & Fort Bend Pkwy Toll Rd (Toll road) (coordinates: 29.57836680532504, -95.50679968585118), we offer polished cement floors Houston services.
Get Polished Cement Floors at Quail Glen Now
Contact Us
(832) 368-9257
Navigate from Quail Glen to One Awesome Concrete Now
Transform Your Garage with a Polished Concrete Floor
Polishing a concrete garage floor is a game-changer for both functionality and style. It transforms a dull, dusty surface into a durable, easy-to-clean, and visually stunning space.
By following the right steps, prepping the floor, grinding through proper grit sequences, applying densifiers and sealers, and maintaining the surface, you can achieve a professional finish that lasts for years. Whether you tackle it yourself or call in the experts, like One Awesome Concrete in Quail Glen, the effort pays off with a garage that feels cleaner, brighter, and more inviting.
Investing in your floor not only enhances your daily life but also adds value to your home. With care, attention, and a bit of elbow grease, your garage can shine like never before.
FAQs
1. How long does it take to polish a garage floor?
A standard two-car garage can take 2–3 days, including prep, grinding, and polishing. Larger spaces or heavily damaged floors may require more time.
2. Can I polish my floor myself?
Yes, with the right equipment and patience. However, complex repairs or stubborn stains may need professional attention.
3. How often should I reseal a polished floor?
Generally every 2–3 years depending on traffic and exposure to chemicals. Regular cleaning prolongs sealer life.
4. Will polishing prevent cracks?
Polishing strengthens the surface and reduces minor chipping but doesn’t prevent structural cracks.
5. What’s the difference between grinding and polishing?
Grinding levels the surface and removes imperfections. Polishing smooths and shines the floor progressively.


RELIABLE, TRUSTWORTHY, and AFFORDABLE PROFESSIONAL SERVICES
or Call us now at
(832) 368 – 9257
Recent Blogs
Can Refinished Cement Flooring Withstand Heavy Foot Traffic
When it comes to choosing flooring that lasts, one common question from property owners, business managers, and homeowners is whether refinished cement flooring can handle heavy foot traffic. With increasing popularity in both commercial and residential settings, cement floors are no longer seen as just utilitarian surfaces, they are stylish, durable, and highly customizable. But…How to Easily Repair Damaged Finished Concrete Flooring
Finished concrete flooring is known for its durability, clean appearance, and low maintenance. Whether you have polished concrete, stained concrete, sealed concrete, or epoxy-coated concrete floors, the surface can still experience damage over time. Cracks, chips, surface scratches, spalling, and discoloration are common issues in both residential and commercial spaces. This guide explains how to…How Contractors Ensure Smooth Polished Cement Finishes
Polished cement flooring is widely used in commercial buildings, retail stores, warehouses, healthcare facilities, restaurants, and modern residential properties. Property owners choose polished cement because it offers durability, low maintenance, high light reflectivity, and long service life. However, achieving a smooth polished cement finish requires more than running a grinder over a concrete slab. It…


EXPERT CONSULTATION, SWIFT QUOTATIONS
Ready to bring your concrete vision to life? Reach out to One Awesome Concrete Polishing & Staining today for expert consultations and fast, accurate quotations. Our team of professionals is dedicated to providing personalized guidance and precise estimates, ensuring that your project is executed to perfection. Whether you’re looking to enhance your home, renovate a commercial space, or overhaul an industrial facility, we have the experience and tools to handle projects of all sizes. Contact us today, and let’s work together to transform your space with the beauty and durability of cement polishing company Houston. Experience top-tier service and exceptional results with One Awesome Concrete Polishing & Staining.


